Add an image to the scene
Let’s add an image to the Level.scene file created by the Basic JavaScript project template.
-
To upload an image to the project, right-click on the
assetsfolder and select the Add Files option from the context menu. This will open the operating system's file chooser dialog.

-
Select the desired image, such as
background.png. The image will be uploaded to theassetsfolder and displayed in the Files view.
-
Ensure the new image is selected in the Files view. In the Inspector view, you will find the properties of the image file. In the Asset Pack Entry section, there are two buttons to import the image into an Asset Pack file. Click the Import as image button and select Add To /assets/asset-pack.json.

The assets/asset-pack.json file is a Phaser configuration file that contains all the files you can load into a game. The Scene Editor uses this file to access images and other resources. You can add image files to the Asset Pack file using the previous method, or by opening the assets-pack.json file in the Asset Pack Editor.
-
Now, in the Blocks view, you will see the new image. Drag the image and drop it into the middle of the scene. Press the
Endkey to move the image to the bottom of the scene, or right-click on the image and select the Edit → Move Bottom option:
-
Save the scene (
Ctrl+S) and play the project (F12).
There are multiple ways to add an image to the project, such as selecting the file in the system explorer and dropping it into the editor window. You can learn more about this process here.
Community tutorials
There are several content creators who have produced tutorials on Phaser Editor. In this section we recommend some of them:
Phaser Editor v4 Beginner's Guide: Make Games Fast with Phaser 3! by Scott Westover.

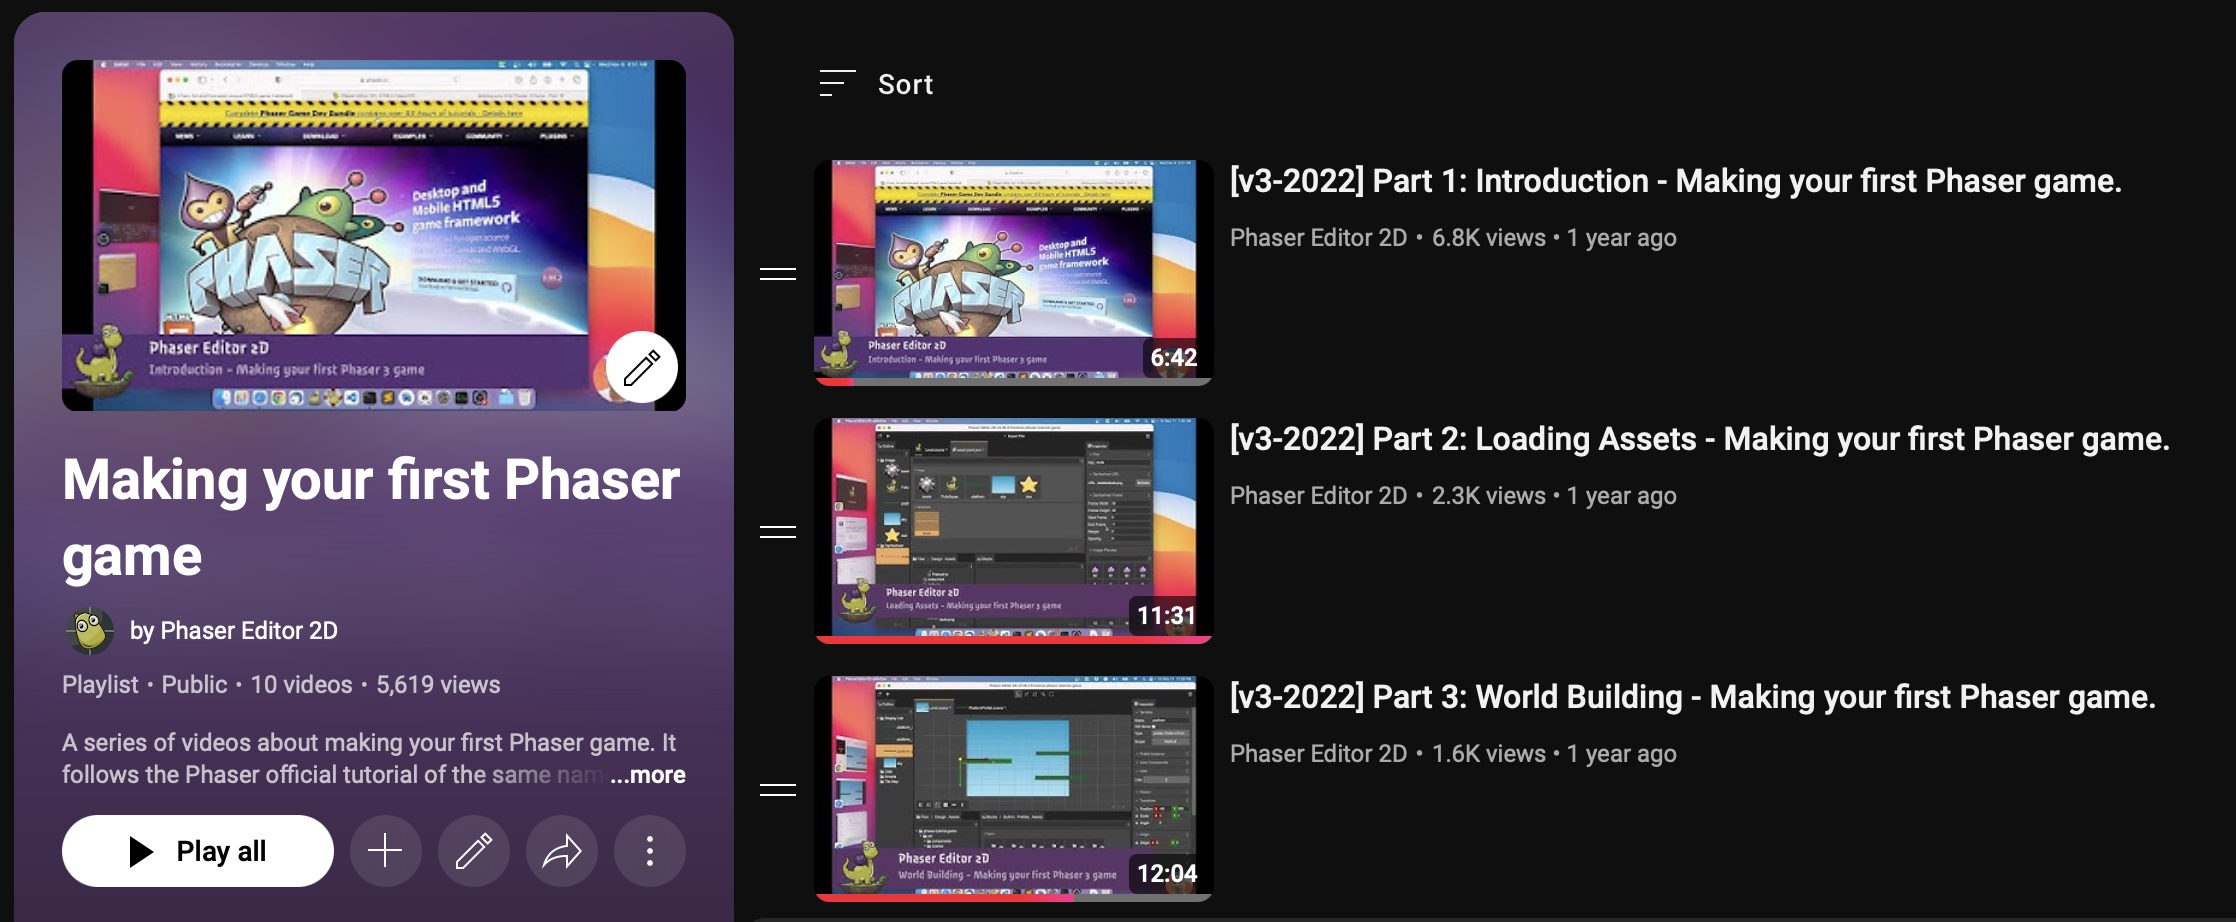
Make your first Phaser game by Arian Fornaris (made for version 3 of the editor, but can still be helpful for beginners)
